- Home
- Discover
- Childrens articles
- How to carve your own pumpkin for Halloween
How to carve your own pumpkin for Halloween
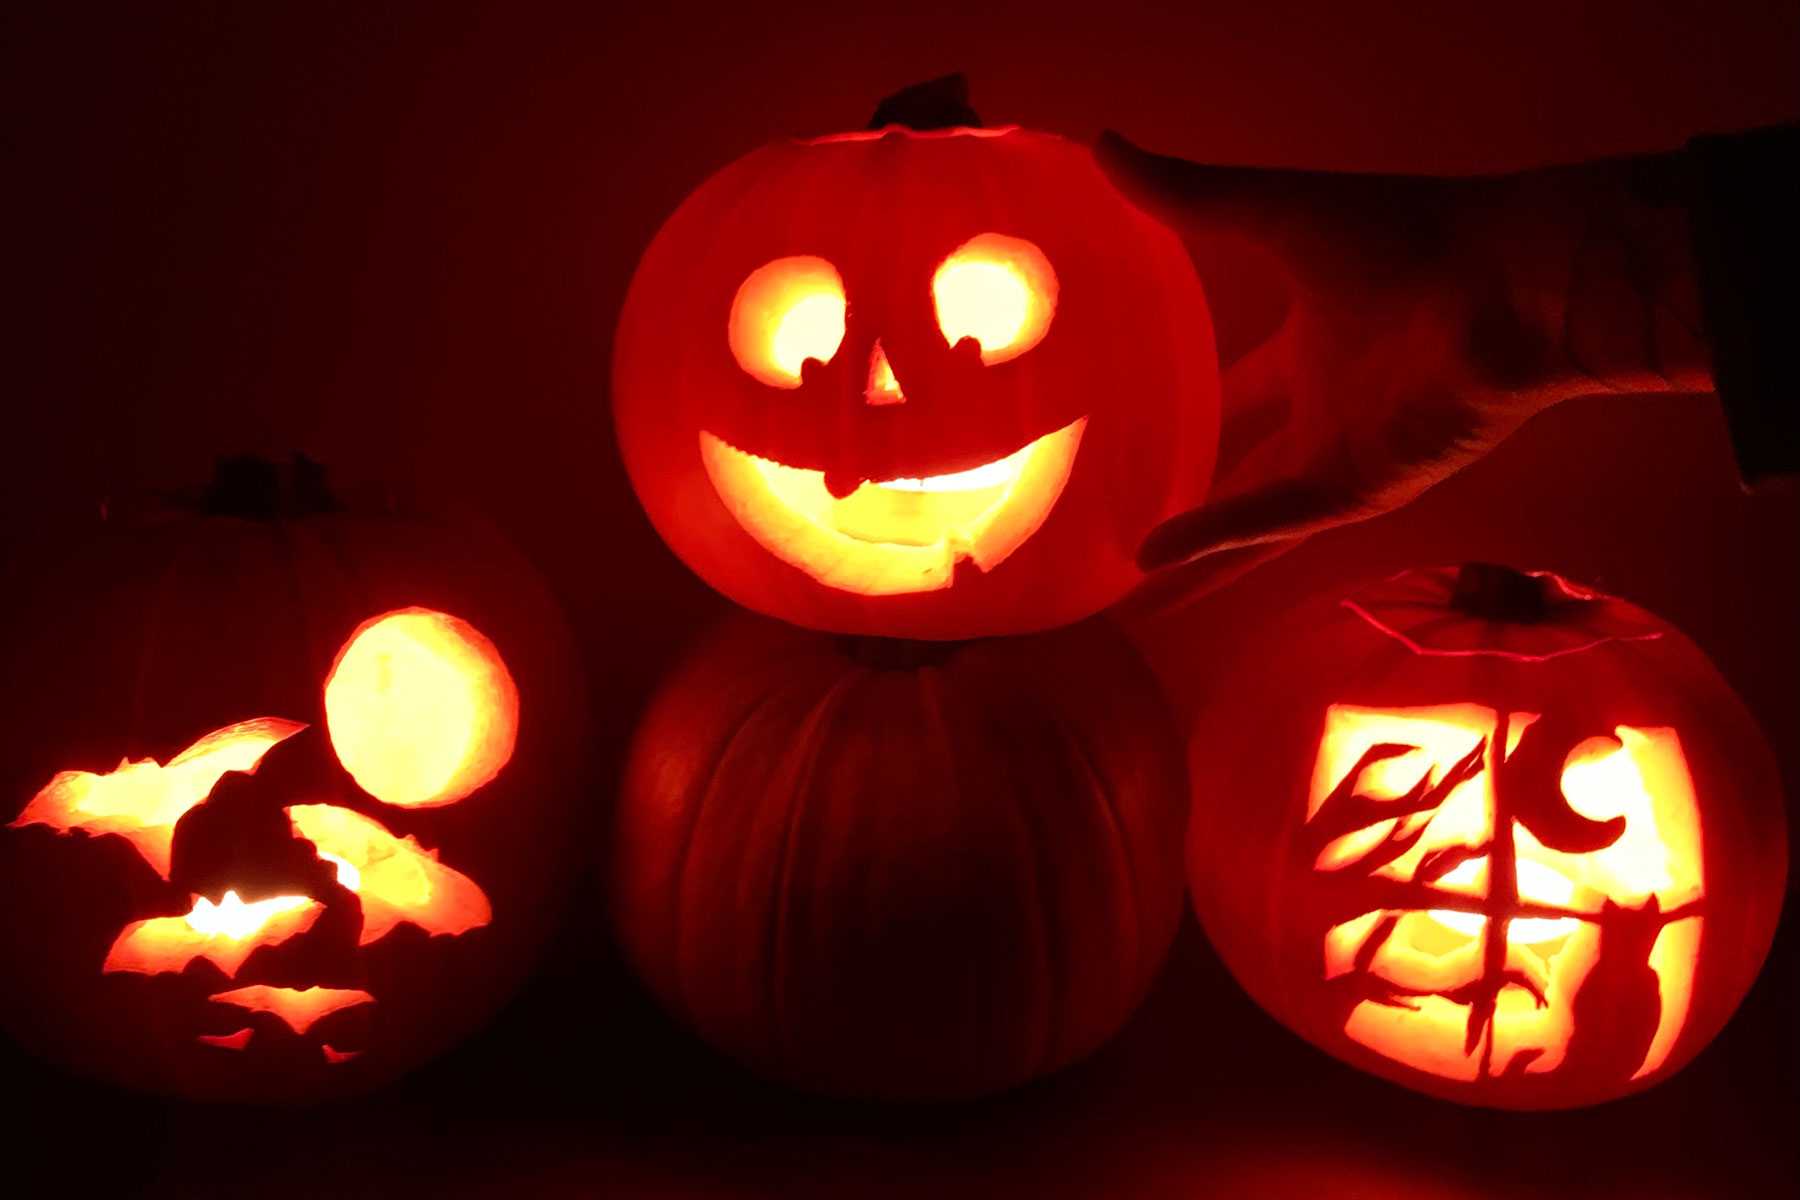
There's no better Halloween decoration than a carved pumpkin! So, follow this step-by-step tutorial by Miranda Jennings and carve your own jack-o-lantern for the spooky season. We've got a selection of stencils for you to print out too, including an extra special Puffin one!
You will need:
• Pumpkin
• A stencil printout (download below)
• Scissors
• Tape or blue tack
• A scoop or spoon
• A poker or cocktail stick
• Small serrated knife
• Light-coloured pen or dry-wipe marker

Choose from five stencils:
To begin:
1. On the top of your pumpkin, draw a five or six-sided shape around the stem. Using a knife carefully cut in at an angle towards the centre all the way around. This will stop your lid from falling in.

2. Remove the top and cut away the excess to create a neat lid with no soft flesh. Scoop out the contents. Remove all the stringy flesh and seeds to leave a hard wall behind.

There are two easy ways to apply a stencil to a pumpkin for carving. The first method is perfect for more detailed designs and involves less scissor cutting. The second is ideal for simpler designs and uses a bit more snipping.
Method A:
1. Cut away the excess paper around your design. Make 3 or 4 snips around the edges of the paper (not into the design) to help fit around its shape and tape to the pumpkin.

2. Using a poker, cocktail stick, or fork, trace around the design by poking holes through the paper.

3. Remove the stencil to reveal your design. You may want to use a light pen or dry-wipe marker to make the lines clearer to follow for carving.

Method B:
1. Cut away the excess paper around your design. Next, cut out the shaded area of your stencil and tape it to the pumpkin.

2. Using a light pen or wipeable marker, trace around the cut-out areas using the stencil. Remove your stencil and you should have an accurate drawing to follow.

3. Using a knife or cutter, carefully cut out your design and pop the shaded shapes out with your hands.

4. Check the cut-out areas are clear and cut away any loose bits.

Finally, place a candle inside, pop on the lid, and watch your masterpiece glow!

Watch the video below:
Huge thanks to Miranda Jennings for putting together this crafting activity! For more arts and crafts as well as beautiful family and home content, check out Miranda's Instagram @mirandaveda


